Satochip and Rabby Wallet

Increase your security level with Satochip and Rabby Wallet
Introduction
This article will explain you how to increase your level of security by using a Satochip hardware wallet 🔗with Rabby wallet🔗, the multi-chain, game-changing web wallet. Your cryptographic private keys will remain safely isolated in your Satochip’s secure element while you conduct online transactions on the Web3.
What’s Rabby Wallet?
If you’re not already familiar with Rabby, let introduce it!
Rabby is a web-based wallet that is often qualified as a “better Metamask”. The interface is clearer than the fox 🦊 hotwallet, and the customization options are far more extensive. Rabby Wallet is often praised, and rightly so, by its users and crypto investors.
But how can you use this solution while continuing to store your private keys on your hardware wallet? Nothing could be simpler, thanks to the Wallet Connect protocol 🔗. Here is how to do so…
Prerequisites
First of all, you’ll need the Satochip hardware wallet. This little device will take care of the private keys of your Ethereum and EVM-compatible blockchains (Arbitrum, Astar, Avalanche, Base, Beam, Blast, Celo, Fantom and many more…)
You can buy your Satochip hardware wallet here🔗.
Then you’ll have to initialize and connect your hardware wallet to Uniblow (the Universal Blockchain Wallet) in order to be able to use the Wallet Connect 🔗protocol. Check out this step-by-step Uniblow tutorial 🔗that will guide you through all the simple tasks to initialize your hardware wallet.
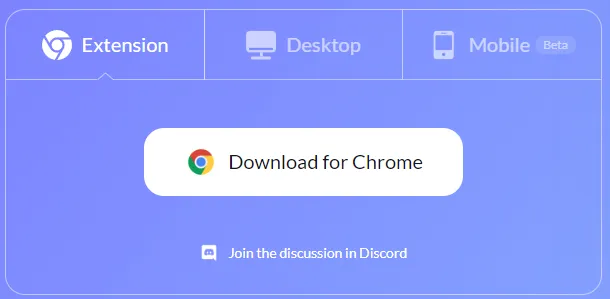
And finally, let’s download the official Rabby Wallet web extension. Like Metamask, Rabby is available as an extension for your web browser. If you are using Chrome, go to the official Rabby Wallet webpage🔗to download the extension and add it to your browser.
How to connect Satochip to Rabby?
The best way to connect your Satochip hardware wallet to Rabby Wallet is to use the Wallet Connect protocol.
This protocol is natively supported by Uniblow. We have covered this specific feature in this article: Satochip, Uniblow and Wallet Connect, your secure gateway to the Web3🔗.
Once you’ve added the Rabby extension to your browser, you’ll need to choose which type of wallet you’d like to link to it. Pay attention to not import the seedphrase generated by your Satochip card into Rabby, otherwise you’ll lower the security of your wallet.
Instead, click on “Connect Mobile Wallet Apps” and choose the “Wallet Connect” option.
You will then be prompted to scan a QR code to initiate the connection, but we recommend that you choose the URL connection string.


Initiate the Wallet Connect connection
Now, let’s link your Satochip hardware wallet to Rabby Wallet using the Wallet Connect protocol. Open your Uniblow application, having inserted your Satochip card in your card reader🔗, then click on the “Wallet Connect” option in Uniblow.
Then paste the URL you’ve copied from Rabby Wallet.
You will be asked to validate the connection you have just initiated. Please take the time to check the URLs of the sites that appear in the window before clicking “yes“.
Once the connection has been confirmed, your hardware wallet will appear in Rabby under the name you gave it when you initiated your wallet via Uniblow.


Conclusion
You can now initiate transactions from Rabby and use your wallet on all your favorite dApps, while keeping your private keys in your hardware wallet.
Interract with more than 100 blockchains and and stay safe with Satochip.