1. Download the client

Download the latest Sparrow Wallet client. Satochip hardware wallet is natively supported by Sparrow since v1.8.0.

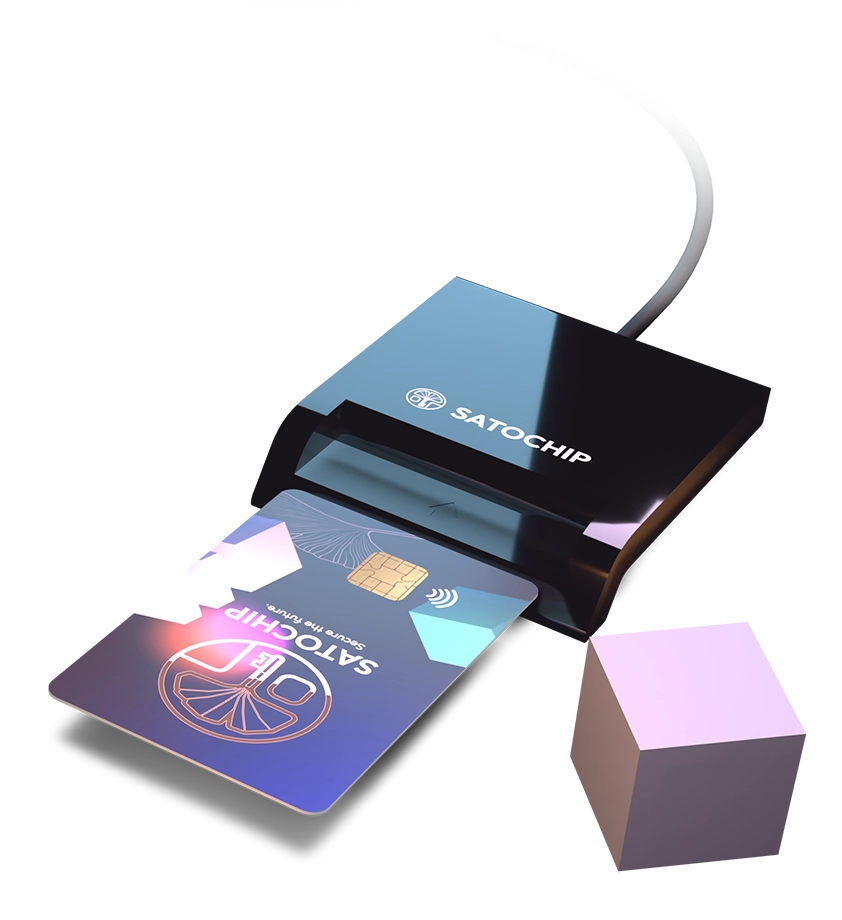
Your Satochip card using the contact interface and the smart card reader.

2. Plug your card in the reader

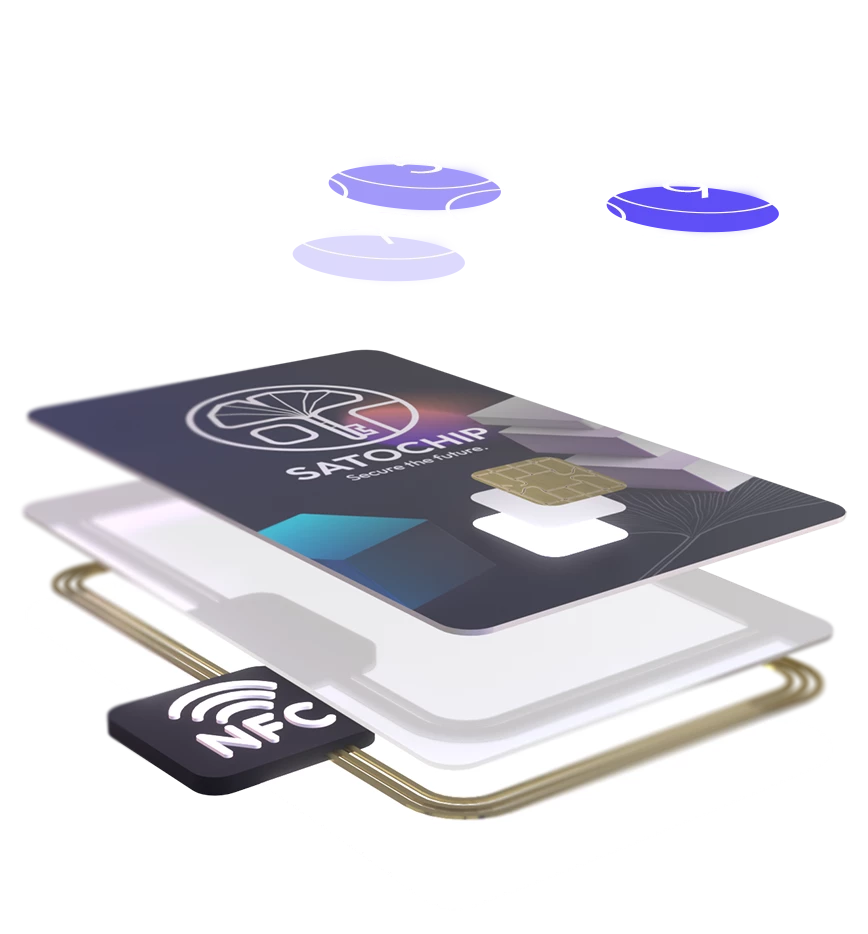
Plug your hardware wallet in a card reader or tap it on an NFC reader and launch the Sparrow Wallet client.

3. Run Sparrow Wallet

  • Run Sparrow Wallet, click on File -> New wallet
    And give a name for your wallet.

  • Under the “Keystores” title, select “Connect Hardware Wallet
    And click on “Scan” to detect your Satochip hardware wallet.

  • Now that you can see your Satochip, click on “Import Keystore”.

4. Setup your PIN code

It will ask you to “Choose a PIN code“.
Insert your personal PIN code (from 4 to 16 chars) and click again on “Import Keystore”. It will ask you to re-enter the PIN code.
Then click on “Initialize“.

5. Setup your seedphrase

  • Insert your personal seedphrase or generate a new one by clicking on “Generate New“.
    Finally click on “Import Keystore(again) to finalize the configuration.

  • Take care to backup the seedphrase in a safe place.
    This is needed to recover your wallet.

  • You’re all set. Click “Apply” and enjoy your newly created Bitcoin hardware wallet.

Congratulations! Your Satochip hardware wallet is now initialized!