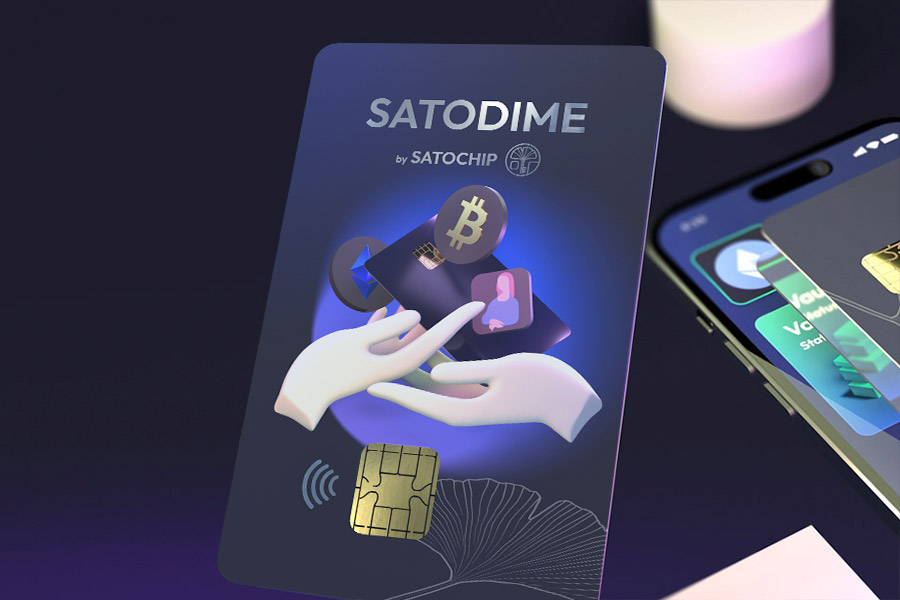
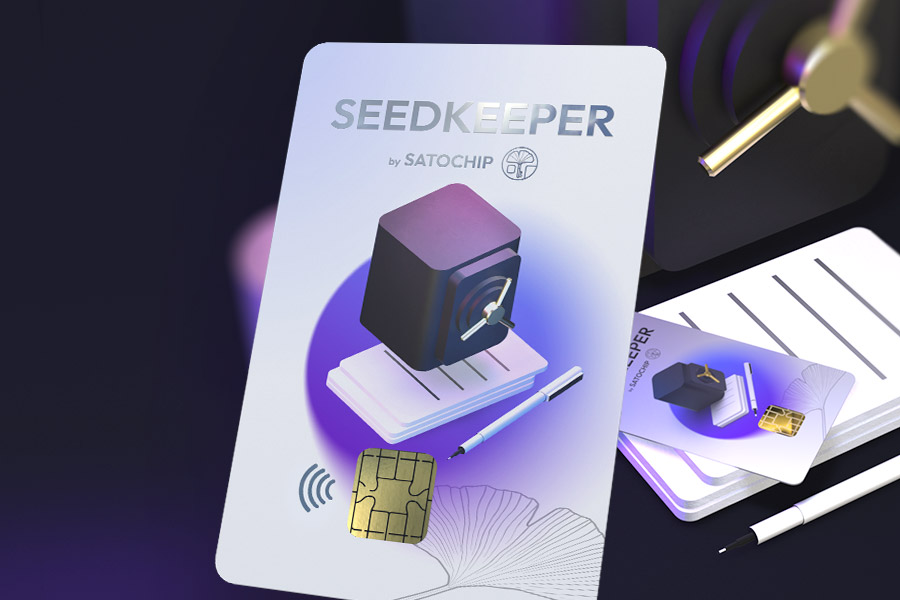
Satochip & Satodime quick start guide
The begining of a new story…
You just bought a Satochip hardware wallet or a Satodime bearer crypto card?
Select the right card and follow the quick setup guide.
So far, your Satochip card supports Bitcoin (BTC), Litecoin (LTC), Bitcoin Cash (BCH), Ethereum (ETH) and the ERC-20 tokens.
But also the Binance coin (BNB) and the BEP-20 tokens, the Avalanche (AVAX) and the Polygon (MATIC) networks.
Satodime card supports Bitcoin (BTC), Litecoin (LTC), Bitcoin Cash (BCH), Ethereum (ETH) and the ERC-20 tokens.
Exchange physically (hand-to-hand) these cryptocurrencies has never been so easy: SEAL – LOAD – VERIFY
Select your card or the software client you want to use to start the quick setup guide.
How to setup a Bitcoin hardware wallet
We would like to thank you for your purchase! We’d love to hear your feedback so feel free to send us an email or post a tweet to let us know how your experience went.
You can setup your Bitcoin Satochip hardware wallet in just 6 easy steps.
Download the client
Download the latest Electrum Satochip client.Download the latest Electrum Satochip client available on Github: https://github.com/Toporin/electrum-satochip/releases
To allow communication between the card and the software client, we have integrated the Satochip plugin into the original Electrum client by forking it.
Tap or plug your card
Plug your hardware wallet in a card reader.Plug your hardware wallet in a card reader or tap it on an NFC reader and launch the Electrum Satochip client.
For a quick start
Follow these steps- Run the Electrum Satochip client and choose a name for your wallet (.dat) file. Click on Next.
- Select “Standard wallet” to create a simple and easy to use Bitcoin wallet.
- Select “Use a hardware device” to be able to safely store your Bitcoin private keys within the secure chip.
Choose your PIN code
Secure the access of your cardFollow the Electrum wizard and insert your desired personal PIN code to secure the card (up to 16 chars).
Your personal seed
Reuse or generate a new seedInsert your seed or generate a brand new one.
Take care to backup the seed in a safe place.
With the PIN code, these are the only information needed to recover your wallet.
Congratulations
It's done...Congratulations! Take a break and chill. You have now a fully functional and highly secured Satochip Bitcoin hardware wallet.
Satochip will probably change the way you see the hardware wallet and how you use it. With its small form factor and the easy way of use, this affordable, weather resistant and highly secured crypto card will gain mass adoption.
Find more information using these links.
How to setup a Litecoin hardware wallet
We would like to thank you for your purchase! We’d love to hear your feedback so feel free to send us an email or post a tweet to let us know how your experience went.
You can setup your Litecoin Satochip hardware wallet in just 6 easy steps.
Download the client
Download the latest Electrum LTC Satochip client.Download the latest Electrum LTC Satochip client available on Github: https://github.com/Toporin/electrum-satochip/releases
To allow communication between the card and the software client, we have integrated the Satochip plugin into the original Electrum LTC client by forking it.
Tap or plug your card
Plug your hardware wallet in a card reader.Plug your hardware wallet in a card reader or tap it on an NFC reader and launch the Electrum LTC Satochip client.
For a quick start
Follow these steps- Run the Electrum LTC Satochip client and choose a name for your wallet (.dat) file. Click on Next.
- Select “Standard wallet” to create a simple and easy to use Litecoin wallet.
- Select “Use a hardware device” to be able to safely store your Litecoin private keys within the secure chip.
Choose your PIN code
Secure the access of your cardFollow the Electrum LTC wizard and insert your desired personal PIN code to secure the card (up to 16 chars).
Your personal seed
Reuse or generate a new seedInsert your seed or generate a brand new one.
Take care to backup the seed in a safe place.
With the PIN code, these are the only information needed to recover your wallet.
Congratulations
It's done...Congratulations! Take a break and chill. You have now a fully functional and highly secured Satochip Litecoin hardware wallet.
Satochip will probably change the way you see the hardware wallet and how you use it. With its small form factor and the easy way of use, this affordable, weather resistant and highly secured crypto card will gain mass adoption.
Find more information using these links.
How to setup a Bitcoin Cash hardware wallet
We would like to thank you for your purchase! We’d love to hear your feedback so feel free to send us an email or post a tweet to let us know how your experience went.
You can setup your Bitcoin Cash Satochip hardware wallet in just 6 easy steps.
Download the client
Download the latest Electron Cash client.Download the latest Electron Cash client available on the official website: https://electroncash.org/
Electron Cash client does support natively Satochip since version 4.0.11.
Tap or plug your card
Plug your hardware wallet in a card reader.Plug your hardware wallet in a card reader or tap it on an NFC reader and launch the Electron Cash client.
For a quick start
Follow these steps- Run the Electron Cash client and choose a name for your wallet (.dat) file. Click on Next.
- Select “Standard wallet” to create a simple and easy to use Bitcoin Cash wallet.
- Select “Use a hardware device” to be able to safely store your Bitcoin Cash private keys within the secure chip.
Choose your PIN code
Secure the access of your cardFollow the Electron Cash wizard and insert your desired personal PIN code to secure the card (up to 16 chars).
Your personal seed
Reuse or generate a new seedInsert your seed or generate a brand new one.
Take care to backup the seed in a safe place.
With the PIN code, these are the only information needed to recover your wallet.
Congratulations
It's done...Congratulations! Take a break and chill. You have now a fully functional and highly secured Satochip Bitcoin Cash hardware wallet.
Satochip will probably change the way you see the hardware wallet and how you use it. With its small form factor and the easy way of use, this affordable, weather resistant and highly secured crypto card will gain mass adoption.
Find more information using these links.
How to setup an Ethereum and ERC20 tokens hardware wallet using MyEtherWallet
We would like to thank you for your purchase! We’d love to hear your feedback so feel free to send us an email or post a tweet to let us know how your experience went.
You can setup your Ehtereum and ERC20 tokens Satochip hardware wallet in just 6 easy steps.
Download the client
Download the latest MyEtherWallet Satochip client and the BridgeDownload the latest MyEtherWallet Satochip client available on Github: https://github.com/Toporin/MyEtherWallet/releases/.
Download the latest Satochip Bridge client available on Github: https://github.com/Toporin/Satochip-Bridge/releases/. The bridge will act as an interface between your card and the client.
Tap or plug your card
Plug your hardware wallet in a card reader.Plug your hardware wallet in a card reader or tap it on an NFC reader and launch the Satochip Bridge which will pop as a green ginkgo leaf on your systray.
For a quick start
Follow these steps- Right click on the green ginkgo leaf on your systray.
- “Setup new Satochip”
Choose your PIN code
Secure the access of your cardFollow the Satochip Bridge wizard and insert your desired personal PIN code to secure the card (up to 16 chars).
Your personal seed
Reuse or generate a new seedInsert your seed or generate a brand new one.
Take care to backup the seed in a safe place.
With the PIN code, these are the only information needed to recover your wallet.
Launch the Mycrypto Satochip client
Follow these steps- Open the MEW folder and click on the index.html page to open it on a web browser
- Click on “Access my wallet”
- Click on “Hardware Wallets” then click on Satochip
- The Satochip Bridge will show you a connection pop up – click on Yes
- You can now select the Network and your address
- To access your wallet, you must accept the MEW ‘Terms’
- And it’s all good!
Satochip will probably change the way you see the hardware wallet and how you use it. With its small form factor and the easy way of use, this affordable, weather resistant and highly secured crypto card will gain mass adoption.
Find more information using these links.
How to setup an Ethereum and ERC20 tokens (or EVM compatible network (BNB, BEP20, AVAX, POLYGON…)) hardware wallet using Metamask
We would like to thank you for your purchase! We’d love to hear your feedback so feel free to send us an email or post a tweet to let us know how your experience went.
You can setup your Satochip hardware wallet and use the Metamask extension in just 6 easy steps.
Download the client
Download the latest Metamask extension and the BridgeDownload the latest Metamask Satochip extension available on Google: Chrome web store.
Download the latest Satochip Bridge client available on Github: https://github.com/Toporin/Satochip-Bridge/releases/. The bridge will act as an interface between your card and the extension.
Tap or plug your card
Plug your hardware wallet in a card reader.Plug your hardware wallet in a card reader or tap it on an NFC reader and launch the Satochip Bridge which will pop as a green ginkgo leaf on your systray.
For a quick start
Follow these steps- Right click on the green ginkgo leaf on your systray.
- “Setup new Satochip”
Choose your PIN code
Secure the access of your cardFollow the Satochip Bridge wizard and insert your desired personal PIN code to secure the card (up to 16 chars).
Your personal seed
Reuse or generate a new seedInsert your seed or generate a brand new one.
Take care to backup the seed in a safe place.
With the PIN code, these are the only information needed to recover your wallet.
Launch the Metamask extension
Follow these steps- Open your web browser (Google Chrome or Brave)
- Click on the Metamask Satochip extension
- Unlock your existing account (or recover it)
- On the top-right menu, click on “Connect a hardware device”
- Select “Satochip”
- The Bridge will pop up a connection window, click on YES
- Select your address and click NEXT
Satochip will probably change the way you see the hardware wallet and how you use it. With its small form factor and the easy way of use, this affordable, weather resistant and highly secured crypto card will gain mass adoption.
Find more information using these links.
How to “Do It Yourself” a Satochip hardware wallet
We would like to thank you for your purchase! We’d love to hear your feedback so feel free to send us an email or post a tweet to let us know how your experience went.
We will explain you how to create your own Satochip hardware wallet in just 6 easy steps.
Grab a compatible chip card
You can get such a card on our webshopTo create your own hardware wallet (DIY), grab a compatible blank chip card: on our webshop.
Be sure to get a blank/empty card from a trusted partners.
Tap or plug your card
Plug your hardware wallet in a card reader.Plug your hardware wallet in a card reader or tap it on an NFC reader.
Download the needed files
Follow these steps- Download the latest Satochip Applet (.cap file) on Github: https://github.com/Toporin/SatochipApplet/releases
- Once you have a CAP file, you have to download it on the chip card. You can use GlobalPlatformPro to do this: https://github.com/martinpaljak/GlobalPlatformPro/releases
Load the .cap file on the chip card
Follow these steps- Put the .cap file in the same folder as the GlobalPlatformPro file for convenience
- To list the applets loaded on a smartcard:
gp.exe -l
- To load the Satochip applet:
gp.exe -install .\yourfile.cap
- To delete the Satochip applet:
gp.exe -uninstall .\yourfile.cap
Download the right Satochip client
Choose the right client to support your coinsFollow one of our Quick Setup guide to download and install the right Satochip client to fit your needs.
You will have to initialize your freshly crafted Satochip hardware wallet in order to use it.
Congratulations
It's done...Congratulations! Take a break and chill. You have now a fully functional and highly secured Satochip DIY hardware wallet.
Satochip will probably change the way you see the hardware wallet and how you use it. With its small form factor and the easy way of use, this affordable, weather resistant and highly secured crypto card will gain mass adoption.
Find more information using these links.
How to setup your Satodime bearer crypto card
We would like to thank you for your purchase! We’d love to hear your feedback so feel free to send us an email or post a tweet to let us know how your experience went.
You can setup your Satodime bearer crypto card in 3 easy steps.
Download the client
Download the latest Satodime-ToolDownload the latest Satodime-Tool available on Github: https://github.com/Toporin/Satodime-Tool/releases/.This tool will allow you to manage your Satodime card.
Also available on mobile via the Google Play Store
Tap or plug your card
Plug your bearer crypto card in a card reader.Plug your Satodime in a card reader or tap it on an NFC reader and launch the Satodime-Tool which will pop up as a small window.
For a quick start
Follow these steps- Seal a new keyslot
- Generate a new entropy
- Select the asset and coin type
- And Seal the keyslot
Your Satodime chip card will therefore generate a new pair of key for this wallet. The private key will remain sealed within the secure chip. You can now see all the public information such the public address where you can load your coins or tokens.
Satodime will probably change the way you see the crypto-currency and how to exchange it. With its small form factor and the easy way of use, this affordable, weather resistant and highly secured crypto card will gain mass adoption.
Find more information using these links.
Contact us
Based in Belgium, the land of chocolate, beers and fries, the Satochip team would be really excited to hear about you !
So grab your hapiness and reach us out through one of those social media.
Developers, Bitcoin fan and code lovers : fork us !
We are also on Telegram and Twitter…
See you soon !
Copyrights
Made with love for Satochip – 2023
You really read the footer !?
Don’t tread on me ! – Bitcoin hodlers – To the moon !
Policies